Introduction
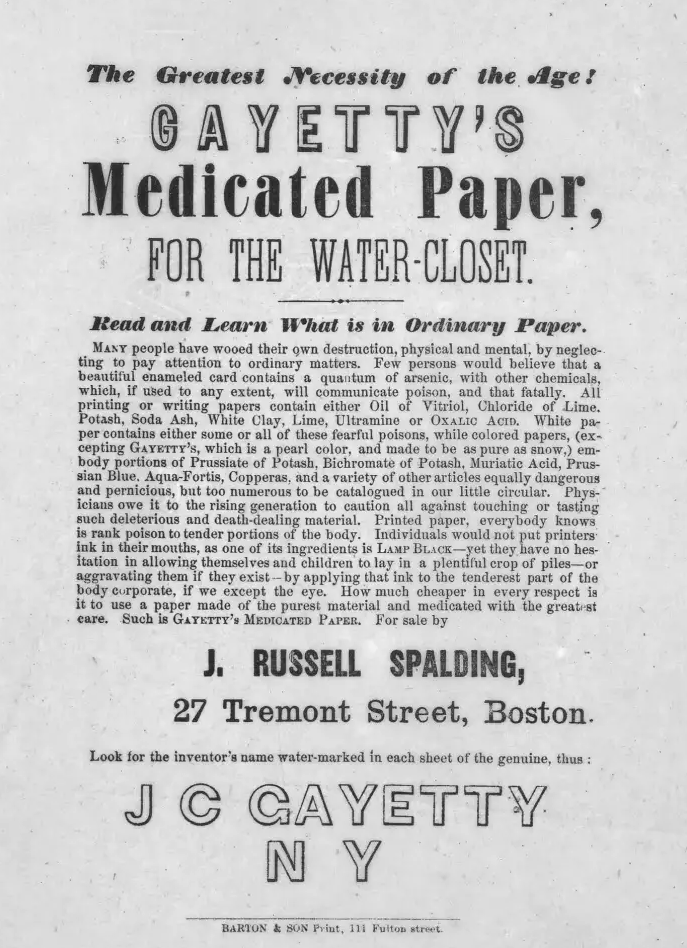
Tissue Paper is one of the most common forms of paper that we know and are accustomed with. Tissue is used in various applications, common ones being Bath, Facial, Napkin and Towels, whilst they are also used in the production of Baby Diapers, Sanitary Pads and Adult Diapers. Sometimes Tissue is used to produce drink coasters, hospital wads, garment stuffing amongst others. Although as mentioned before Paper was invented in the form we know today by the Chinese in the second century BC, the first known use of paper for cleansing is from the 6th Century China, discovered in the texts of scholar Yen Chih Thui. In 589 AD, he wrote, “Paper on which there are quotations or commentaries from the Five Classics or the name of sages, I dare not use for toilet purposes.” By the early 14th Century, the Chinese were manufacturing toilet tissue at the rate of 10 million packages of 1,000 to 10,000 sheets annually. In 1393, thousands of perfumed paper sheets were also produced for the Hongwu Emperor’s imperial family. Paper became widely available in the 15th century, but in the Western world, modern commercially available toilet paper didn’t originate until 1857, when Joseph Gayetty of New York marketed a "Medicated Paper, for the Water-Closet,” sold in packages of 500 sheets for 50 cents. Before his product hit the market, Americans improvised in clever ways. In 1890 the Scott Paper Company of Philadelphia, introduced the first perforated toilet paper on a roll and they quickly became the leading producer of Toilet paper. At first their Toilet paper was sold through intermediaries, private labels and drug stores as they did not want to be associated with this product. In 1942 the St Andrew Paper Mill in England introduced the two ply toilet paper. Apart from Toilet, Facial Tissue’s origins have various sources. Some credit the World War 1 for the origin of Facial Tissue. Prior to World War 1, creped cellulose wadding was developed in Europe as a cotton substitute. Kimberly Clark brought the said idea to the USA and trademarked it as Cellucotton. During the war owing to a shortage in cotton, KC, convinced the military to use Cellucotton for surgical dressings and gas mask filters. After the war, the company had to find a new market and that’s how facial tissue originated! The said also laid the foundation to Kotex, which is amongst the pioneers of Sanitary Pads even today! There are various origins for the different applications of tissue as we know it today. After the invention of various folding machines and better crepping the paper found more uses. The use of Tissue paper spread across Europe from America in the 20th Century and there on globally! Today Tissue is a household need. We cannot imagine living a life without tissue!
Types
Tissue is one of the types of Paper is manufactured using various pulp sources and machine technologies. It is further sub-divided in accordance to its applications. So lets break it up to understand the types better:
Pulp Type
a. Wood Pulp:
i. Softwood pulp: Long fibers bring in strength and better absorption in the paper. Softwood is most commonly used in Towels, but is also blended in other grades as and when you need strength!
ii. Hardwood pulp: Short Fibers bring in softness, help in maintaining the versatility of the sheet and also plays an importance in absorption. Tissue is mostly made with Hardwood so that the paper is soft and is foldable with ease
b. Agro Pulp
i. Bamboo: Bamboo is a common and popular source of fiber for the tissue industry. The quick turnaround time of the crop makes it cheap. With modern chemicals, and bamboo being a long coarse fibers makes it an ideal choice for towels and other applications. Bamboo is also used to produce other grades and the same is through extensive refining and chemical treatments
c. Recycled Pulp:
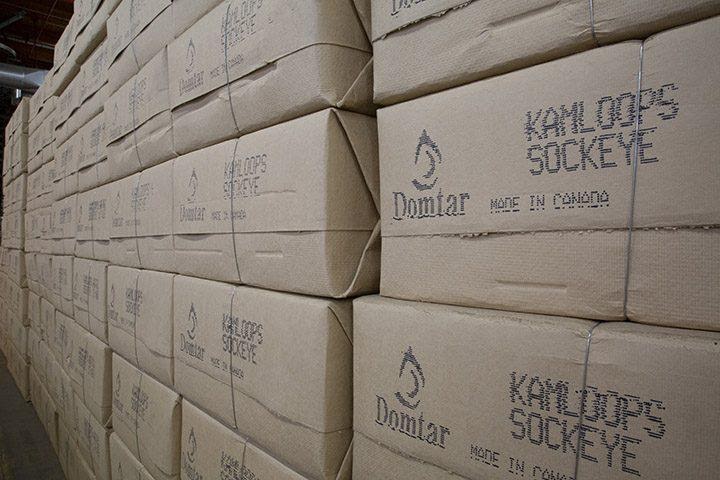
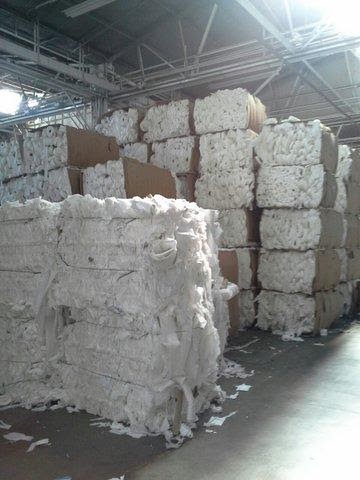
i. Various grades of recycled pulp are used to produce tissue. Popular ones being, Cup stock, sorted office paper, pre-consumer tissue waste. With the developments in refining technology and bleaching technology commonly used forms also include, Tetrapack waste, Milk Cartons and Kraft Paper.
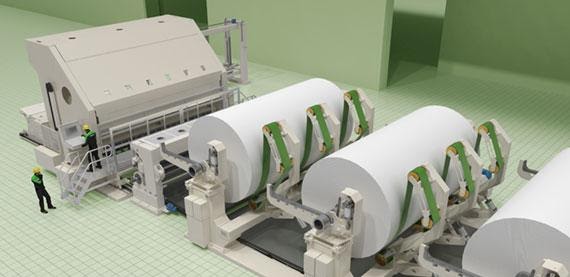
Machine Technologies
- TAD: Through Air Dried
- NTT: New Tissue Technology
- ATMOS
-
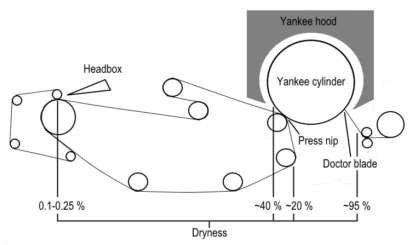
This is the primary method through which Tissue was made. The same is using a Yankee Cylinder, where the paper is dried in a drying hood. Some machines are configured with a mechanical press section after which it goes on a Yankee.
-
This kind of paper is used to produce Toilet Paper wraps, Napkins, Stuffing material, Garment packaging sheets
-
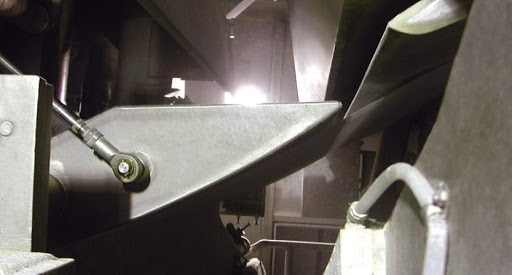
The most common form of tissue as we know today. The machine is configured with a Doctor blade after the Yankee Roll. There is a further classification in the same with machines being a Crescent former or a traditional MG Machine.
-
Traditional MG machine:
- One of two configurations, where the drying of the paper happens using more mechanical pressing or a higher drying time on the Yankee Roller
- Such machines are good for the manufacturing of high basis weight tissue and Towels, as the bulk is compromised but owing to the higher drying through the press section, you get better Fibere bonding and hence better strength on the paper.
- These machines are also used to manufacture 15 GSM – 28 GSM Hard Tissue, generally used as Paper Napkins or for wrapping shirts
-
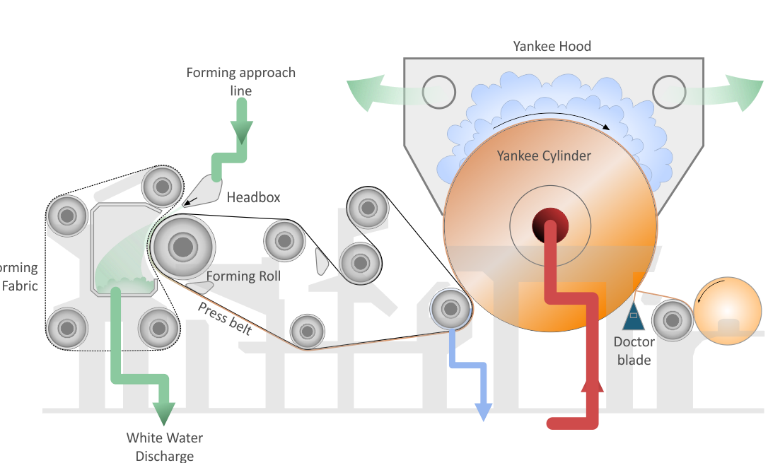
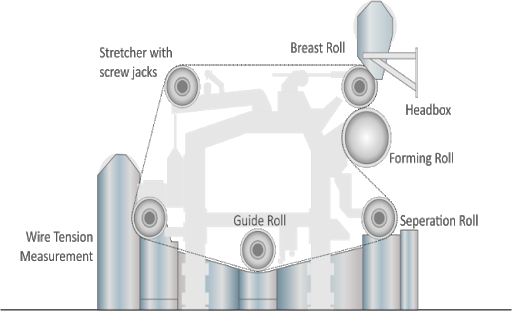
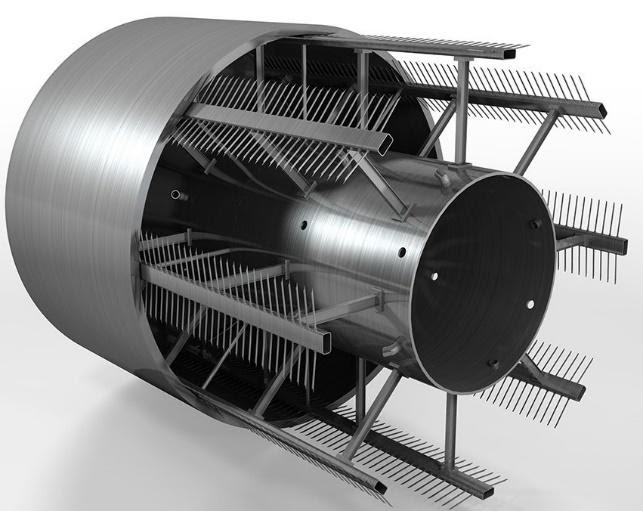
Crescent Former:
- Developed initially by Kimberly Clark in the 1960’s this machine to produce paper, and their patent of the same expired in 1988, after which the technology is widely used as a basis of tissue production today.
- A crescent forming machine has a felt going in the reverse direction of the felt bed to create a pressure causing the water to drain and also prevent the transfer of the sheet to a felt later for drying.
-
Traditional MG machine:
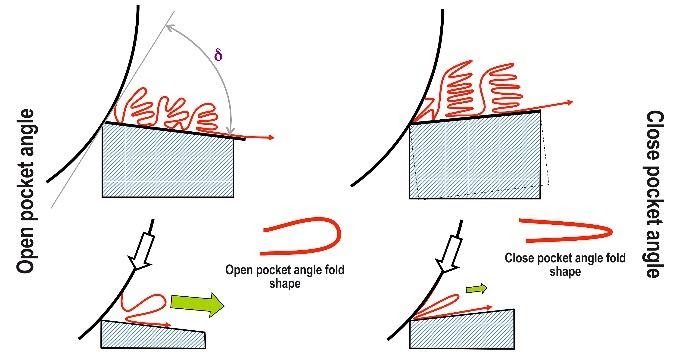
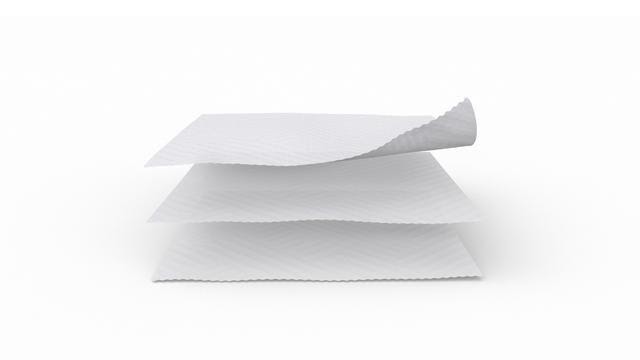
a. Structured Tissue:
i. Structured tissues are tissues produced with a higher bulk and altered fiber in the wet end and drying technology application on the machine, altering the property of the paper. Popular technologies include:
ii. Structured Tissues may consume more energy but help in lowering the yield and usage. They also help in lowering the fiber cost. More on the same in the advancements section.
b. Traditional MG Tissue:
c. Dry Crepe Tissue
Defining the varieties of tissue by usage
-
Tissue can also be defined in accordance to its
applications. Whilst ultimately the manufacturer
decided which properties they want in their products,
broadly the classification is as under:
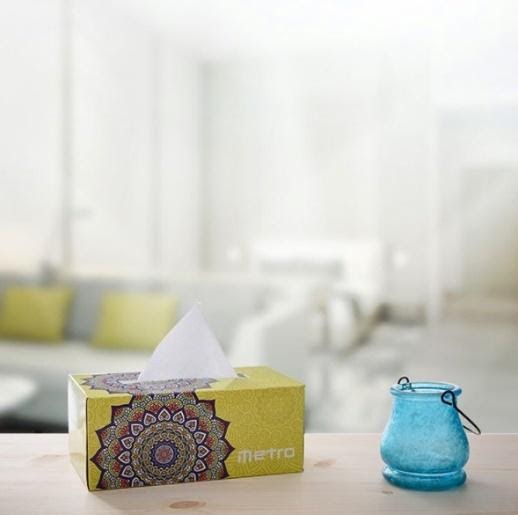
- Facial Tissue – Facial Tissue goes by it’s name and is used to wipe the face or blow your nose.
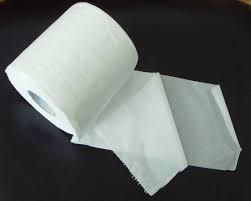
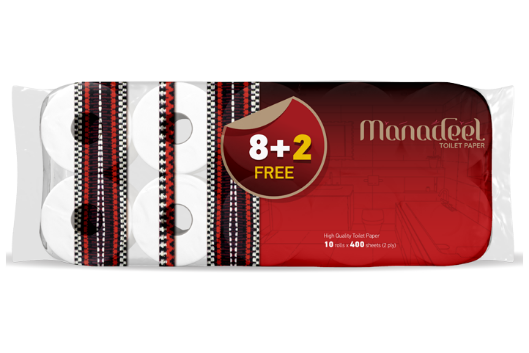
- Bath Tissue/ Toilet Paper – The most common and highly produced grade. This grade is predominantly used in the bathroom
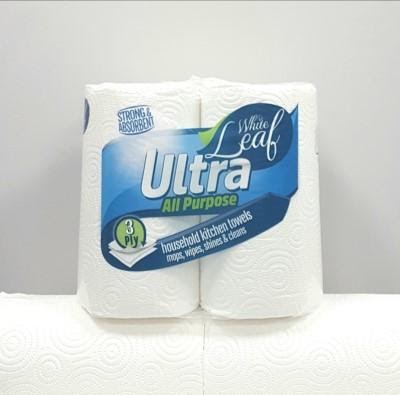
- Kitchen Towel / Kitchen Roll / Household Towel – This is used in the kitchen as an alternative to cloth
- Handkerchief / Pocket Tissue – These are used in the small packs we carry in our pocket. It is a derivative of Facial Tissue with few changes.
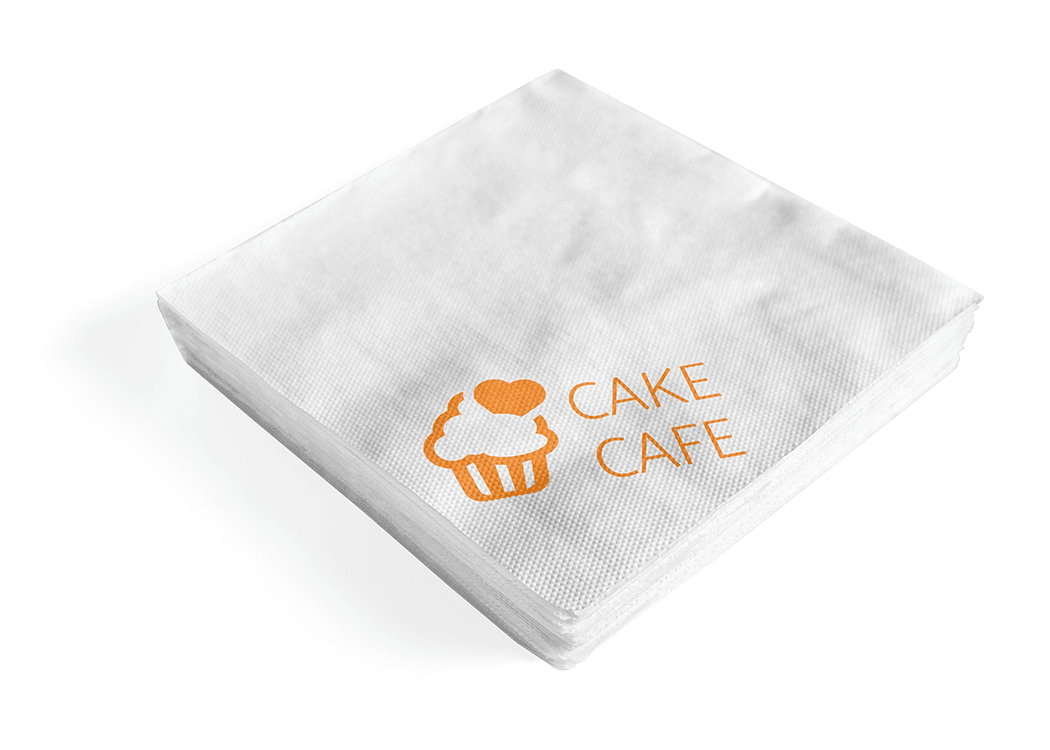
- Napkins / Serviettes – Used in Restaurants, on Table Tops as well as used as a drink coaster or sleeve
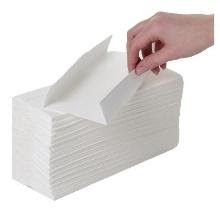
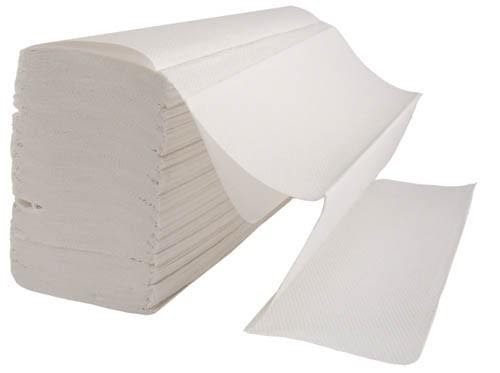
- Interfold/Towel/Autocut/Hand Wiping – Used in the washroom to wipe wet hands
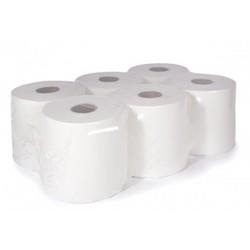
- Bed Roll / Industrial Towel/ Industrial Wipes / Maxi Roll – Used in restaurant kitchens and catering services where the consumption of tissue is high to clean counter tops, floor, etc. Also used in hospitals as bed cover for sanitary purposes
- Sanitary Tissue/ Carrier Tissue – Used in the production of Diapers. The paper helps the diaper maintaining integrity and reducing the pinholes associated to the super absorbent particles damaging the inner plastic film. The paper is placed below the Non-Woven film touching the skin and the pulp layer. The same helps in evenly distributing the discharge as well!
Grades:
Before dwelling further on how Tissue is produced let us focus on the grades of tissue that is present and the properties generally required in the same. Tissue is subdivided in five main forms, with other grades developed as Hybrid grades. The infographic on the left demonstrates how the hands come in contact with the paper. The way we use the paper determines weather we would need higher or lower wet strength or softness, dry strength, etc.. Often tissue is produced using a mix of fibres, chemicals, refining techniques, creping, etc. and this is what makes tissue an art today! So let us start by analyzing what the customer needs for the popular grades.

| Facial | Very Soft Surface | Appearance of Packaging | Lotion, Eucalyptus, Aloe vera and other additives | Dust Free and does not break when in contact with sweat |
|---|---|---|---|---|
| Toilet/ Bath Tissue | Softness | High dry tensile, so the paper does not tare whilst pulling from the roll | Brightness, Bulk and Shade | No Wet Strength. If the Paper has Wet strength, it will clog the narrow drain pipes |
| Kitchen Towel | Water Retention and Absorption | High Wet Strength | Brightness, Printing, Bulk, Shade | |
| Handkerchief | Softness | Wet Strength | Packaging appeal | No Dust |
| Napkins | Absorption | Bulkiness for better packaging | Printability | Color, shade, Recycled content |
| Towels | Absorption | Wet strength | Dry Strength | Smell |
Basic Grades Nomenclature
The basic grades are well nomenclature to demonstrate their end application. And it is good to understand how the fibers play a roll in the same:
- Hardwood – Short Fibers – The main furnish in Bathroom and Facial Tissue products
- Hardwood gives improved softness
- Softwood – Long Fibers – The main furnish in Towel products
- Softwood gives increased strength
- CTMP – Mixed Fibers that have a small percentage of Lignin content - Used across the product as a smaller part of the mixture
- Increased Bulk and Thickness
- Recycled Fibers are dependent on the grades of the fibers used to manufacture the original paper form
Understanding Common Grades
Understanding what the common grades are typically composed of:
Towel: 10% CTMP 15% Hardwood 70% Softwood 5% Broke
Bathroom Tissue: 70 – 80% Hardwood 0 – 20% Softwood 5 - 10 % Broke
Facial Tissue: 75% - 95% Hardwood 0 – 20% Softwood 5% Broke
Napkin Tissue: 0 – 15% CTMP 50 – 60% Hardwood 10 – 20% Softwood 5 – 10% Broke
Refining in the manufacturing process can also help in the follow:
- Improved tensile and machinability – achieved through increased fiber bonds
- Softness
- Bulk
- Absorbency
- Fiber Length (Strength impacted in over refining, and if not refined aptly also can prevent fiber bonding)
Fiber choice is also made on choices of the energy spent in Refining the same, desired end product, last mile customer, functionality desired and appearance desired. Some of the properties of the Paper sheet can be enhanced in the converting end using embossing, converting chemicals, etc. The below Venn Diagrams will show you the reason why we call Tissue an Art. Any change in the same will effect the finish of the paper!!